
Understanding Microsoft Power Pages
Microsoft Power Pages is a sophisticated, yet user-friendly platform designed to democratize website creation, allowing users to build secure and professional-looking websites without the need for extensive coding knowledge. Part of the broader Power Platform, Microsoft Power Pages is tailored to enhance digital experiences, enabling businesses to create engaging, data-driven sites with ease.
Key Features and Benefits
- No-code Development: Utilize a drag-and-drop interface to add, customize, and manage your website’s components.
- Seamless Integration: Effortlessly connect with other Power Platform services like Power BI, Power Automate, and Power Apps to add dynamic content and automate workflows.
- Customizable Templates: Choose from a variety of templates that can be customized to align with your business’s branding and needs.
- Security and Compliance: Benefit from Microsoft’s robust security measures, ensuring your website and data are protected against threats.
Microsoft Power Pages stands out by offering a platform that not only simplifies website creation but also ensures that the sites are dynamic, interactive, and fully integrated with business processes. Whether you’re looking to showcase your products, gather customer feedback, or automate booking systems, Microsoft Power Pages provides the tools necessary to accomplish these tasks effectively.
Getting Started with Microsoft Power Pages
Create Power Page website:
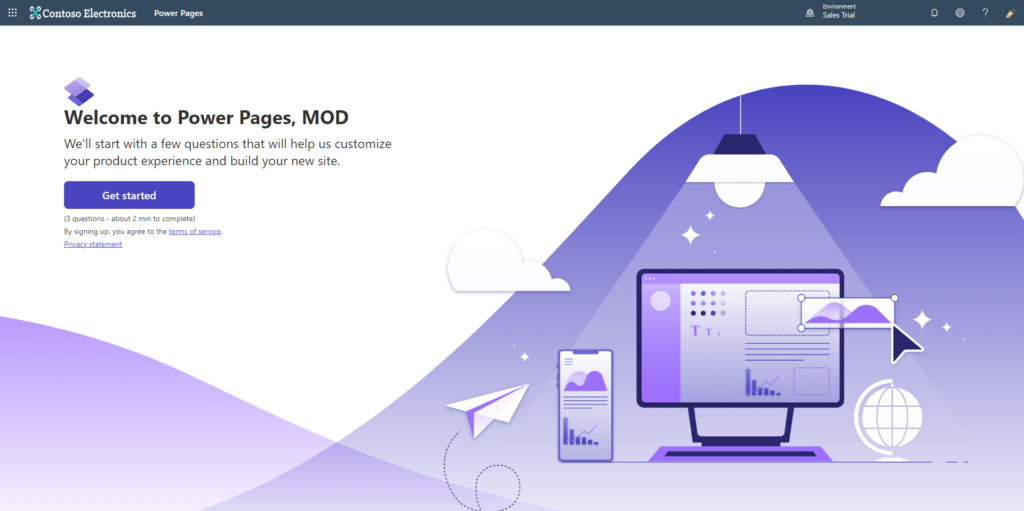
- Go to the https://make.powerpages.microsoft.com/ website and click on the “Get Started” button.
- 2. Choose your level or previous experience building the website. You can skip this step even if you don’t want to answer this.

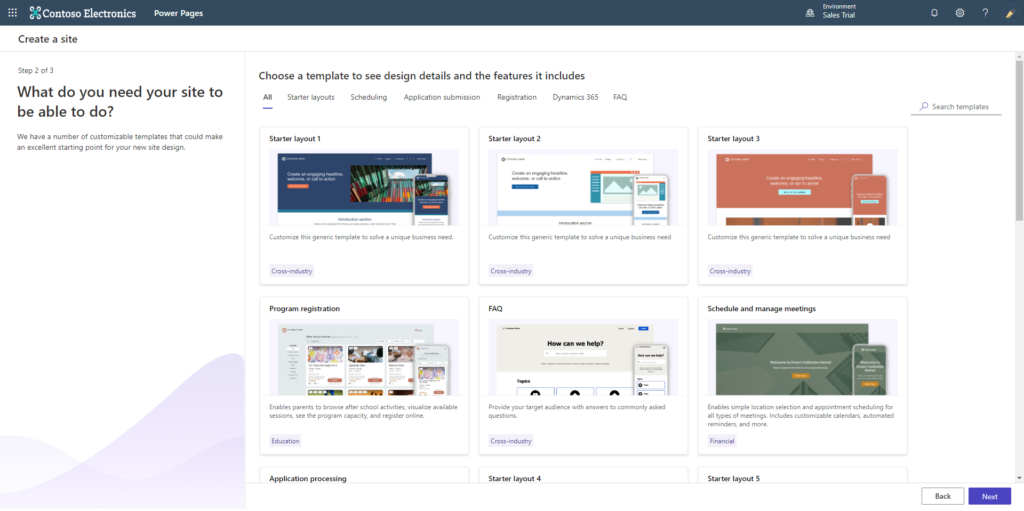
- 3. Next, you will be able to choose some of the premade templates if you want to choose them to have some already premade options on your website. Look true all of them there are many options to choose from. After you finish and choose which one you want, click on the “Next” button.
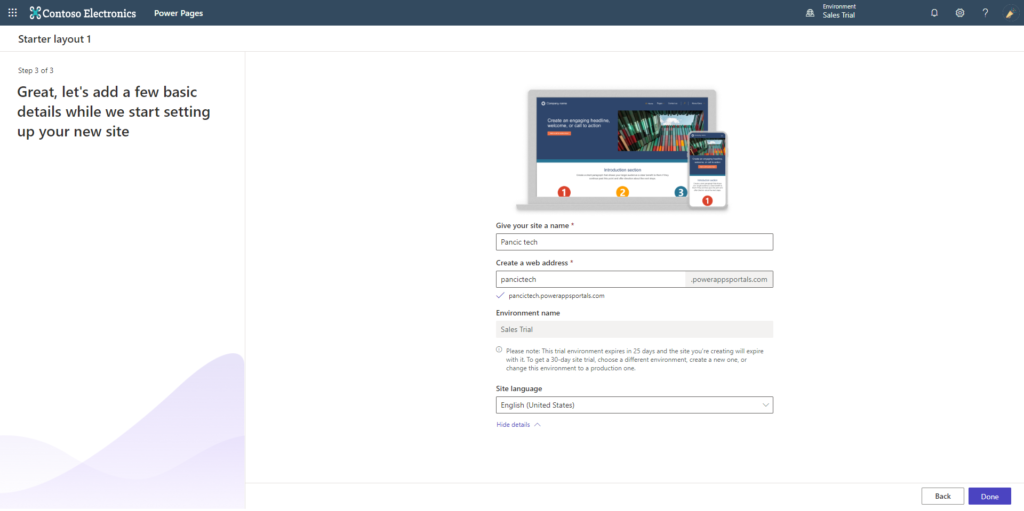
- 4. After that, you need to provide some of the information for the website, like name, and address. After you finish populating this you can click on the “Done” button.
- 5. Now wait a little bit for the website to be created for you with the template you choose.
Edit Power Page website:
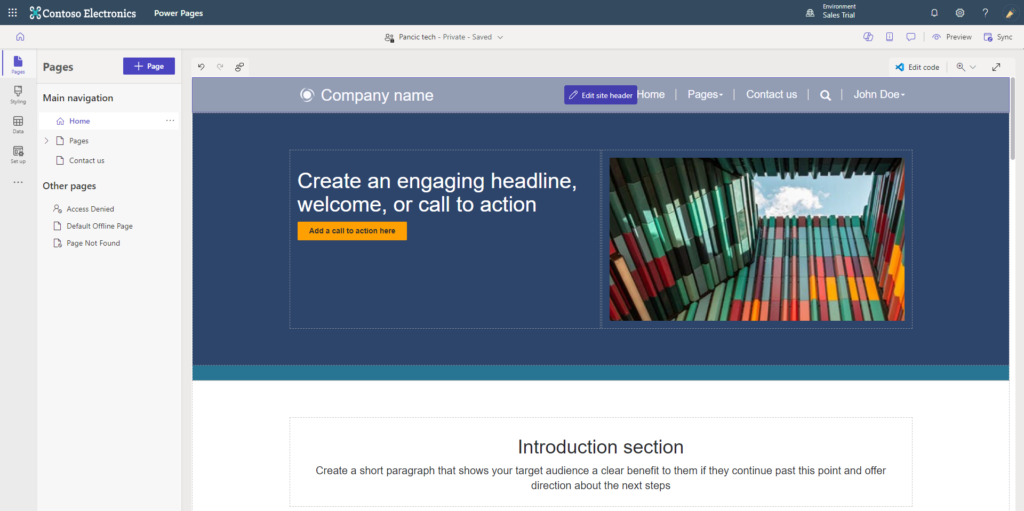
- 6. On the next screen, you will be redirected to the main screen of the Power Page where you will be able to control all your websites. On the bottom of the page, you will see your new website ready to be previewed or edited. Click on the “Edit” button to enter the edit mode of the website.

- 7. Here you will be directed to the website editor where you will be able to change any part of the website however you like.

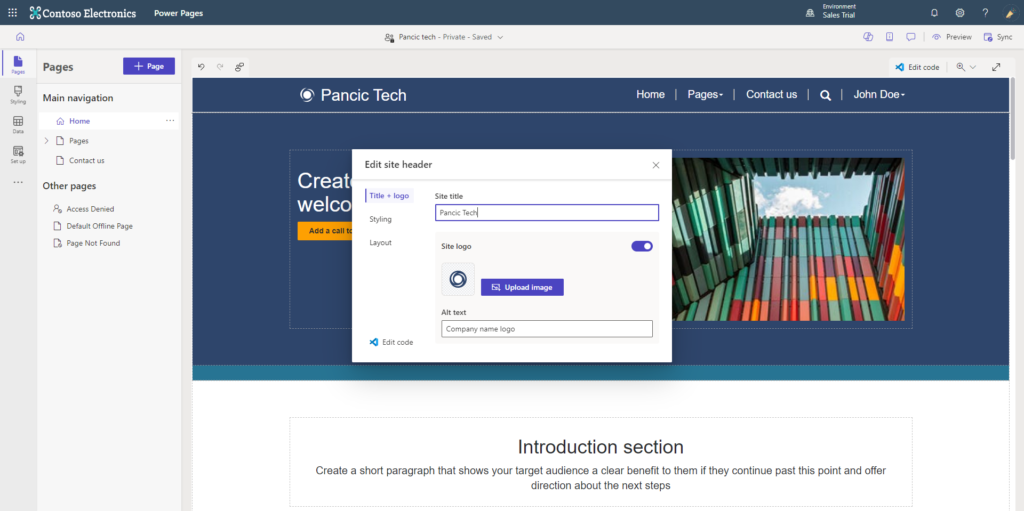
- 8. To start, you can change the header of the website by simply hovering over it and clicking on the button “Edit site header”. A pop-up will come up and you will be able to edit some of the options here, like the title of the website.
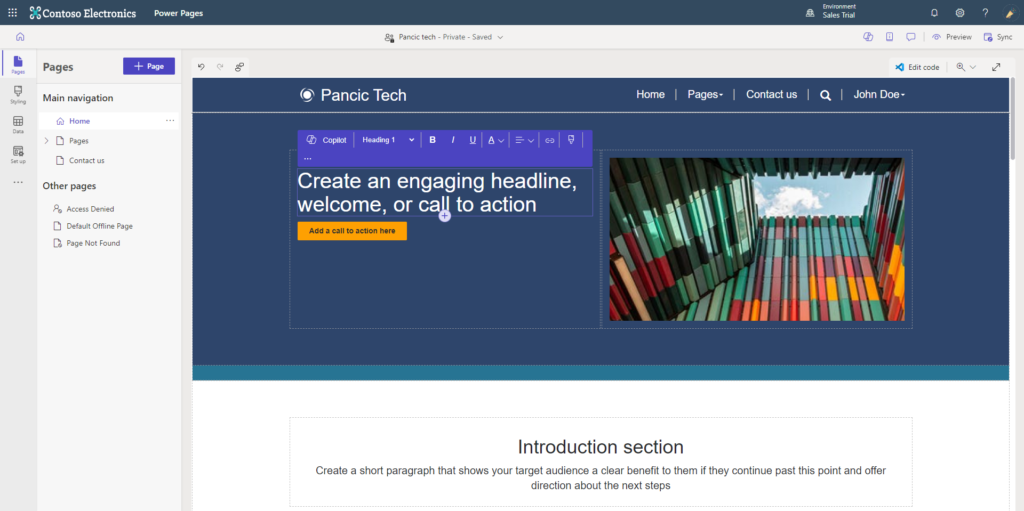
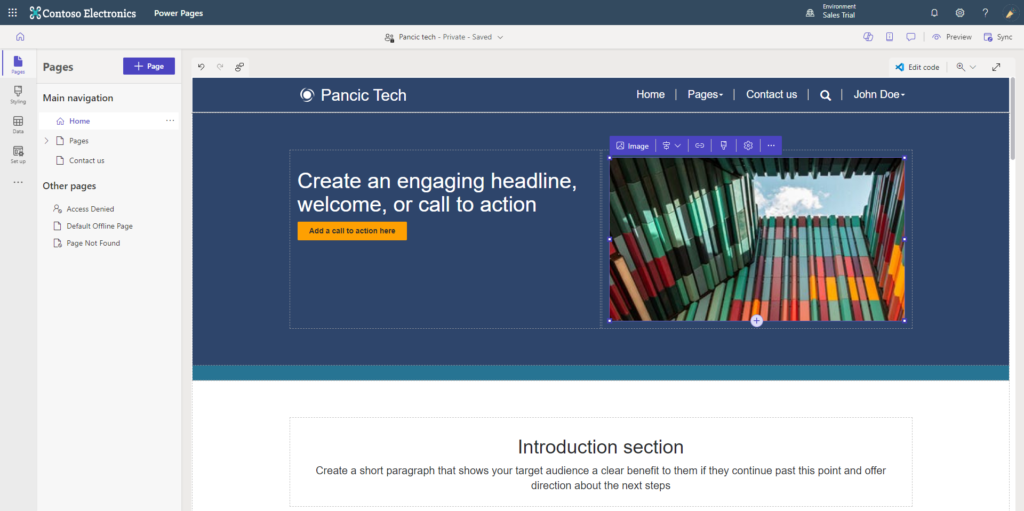
- 9. Story for easy editing of the website continues for the other sections, you can click on them and edit the text or the images as you like.
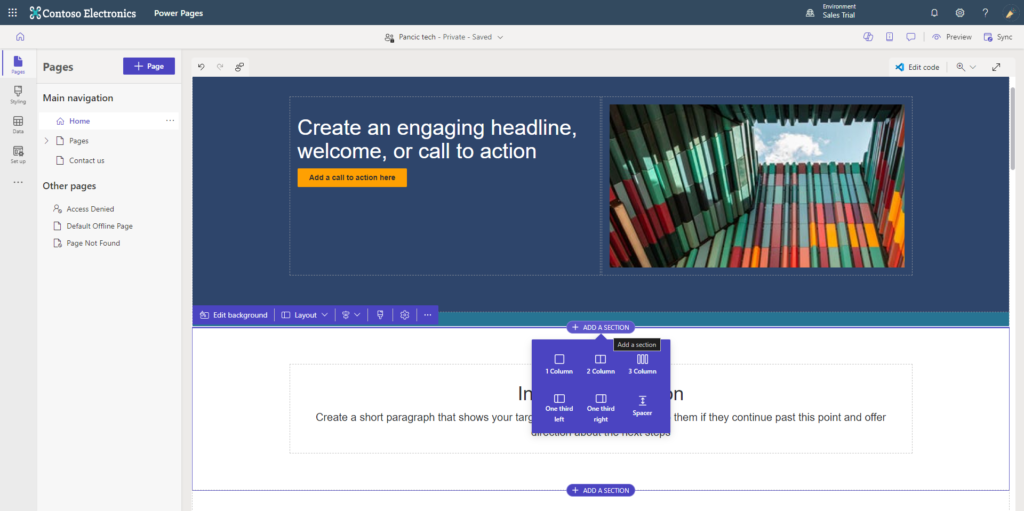
- 10. If you want to add some new sections to the website it is as easy as choosing one option between current sections. Clicking on “Add a section”, where all section options will be displayed and upon confirmation, it will be added to your page.
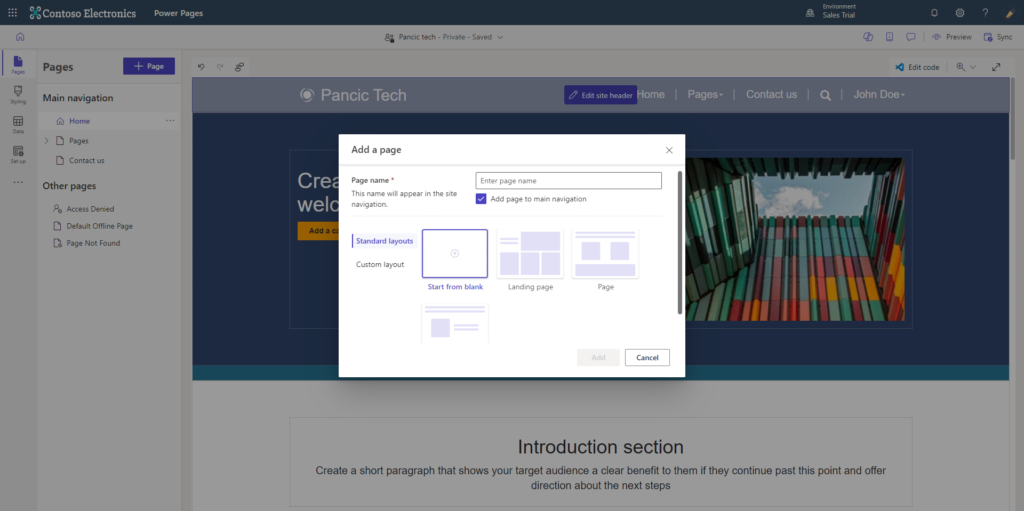
- 11. If you want to add a new page to your website, you can click on the “+ Page” button in the top left corner of the screen. You can choose some of the premade templates for the new page or start from blank.
Design your Power Page website:
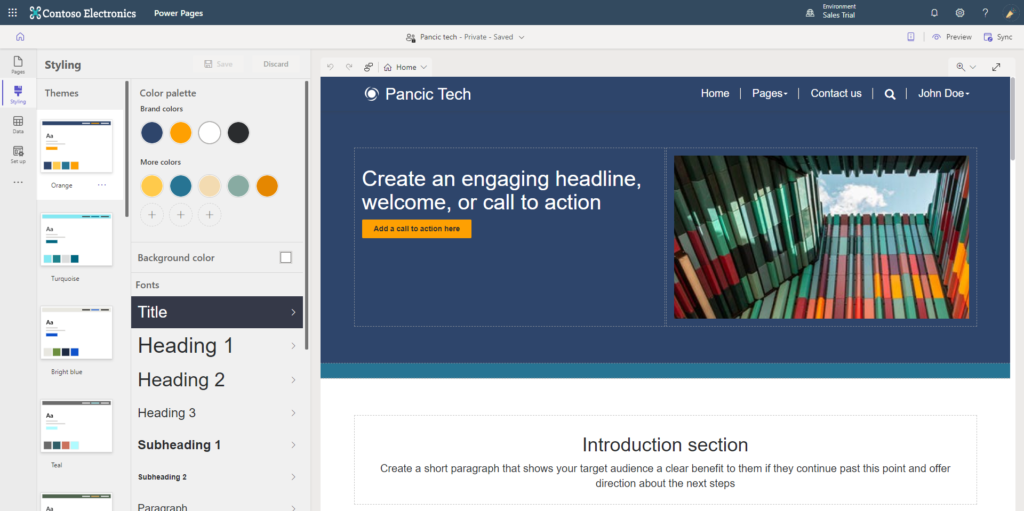
- 12. You can go to the “Styling” tab where you will be managing and configuring different things like colors. fonts, etc. There are already some predefined styles for you, but you can customize them as you like to match your company branding.
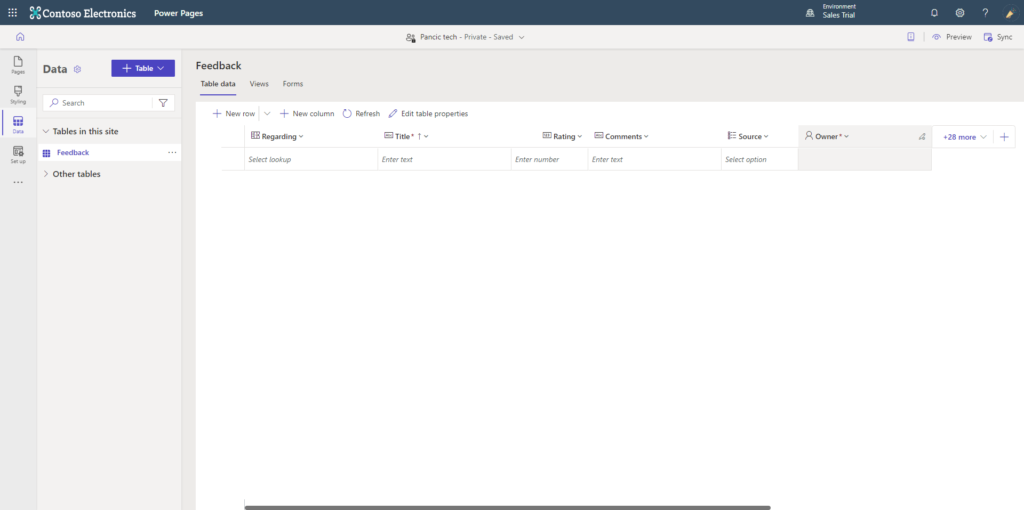
- 13. If you click on the “Data” tab where you will see all your tables and data that you can use on your website from your Dataverse database.
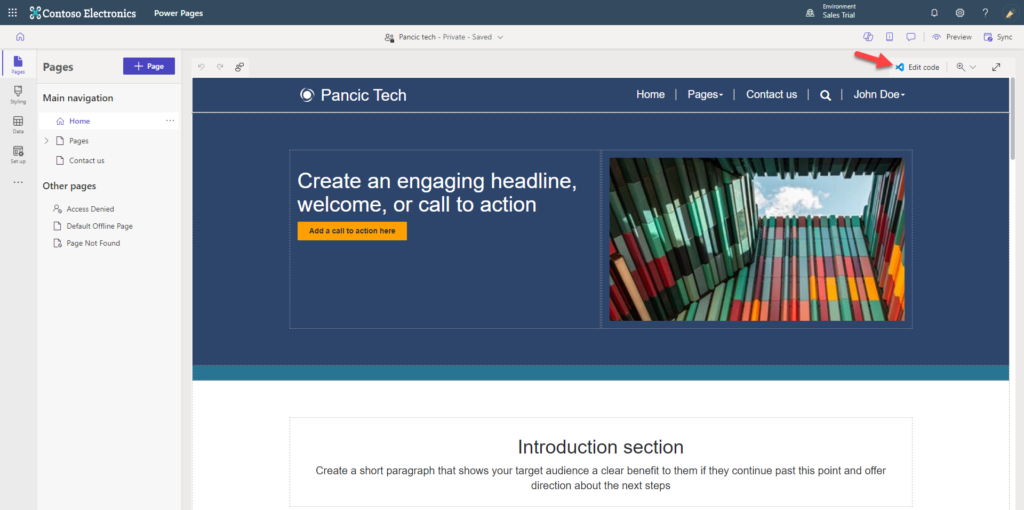
- 14. If you are more experienced with the code and want to edit a website even more, you will be able to edit it by going to the “Pages” tab and clicking on the “Edit code” button.
Develop your Power Page website:
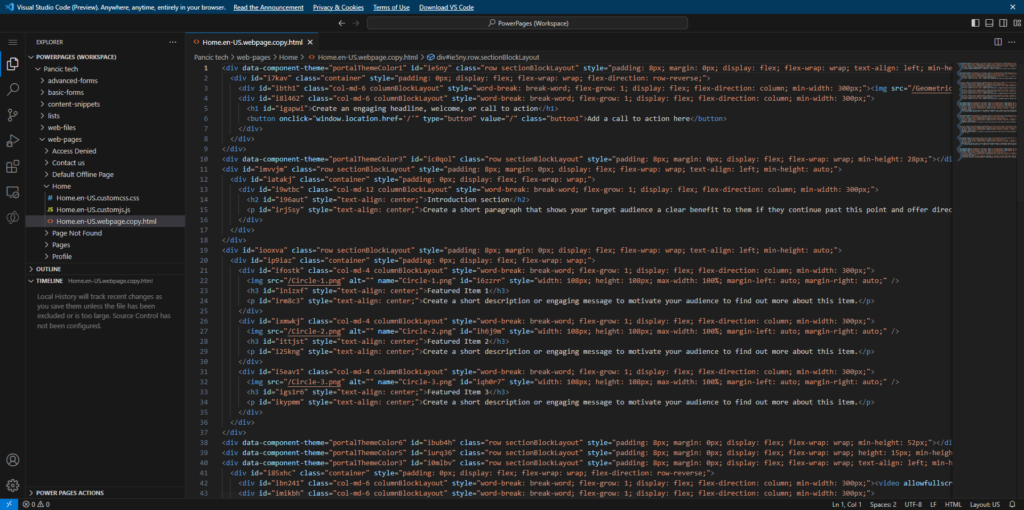
- 15. Then, it will guide you to the VS Code editor, where your website’s code is, empowering you to make any necessary modifications to your Microsoft Power Pages website.
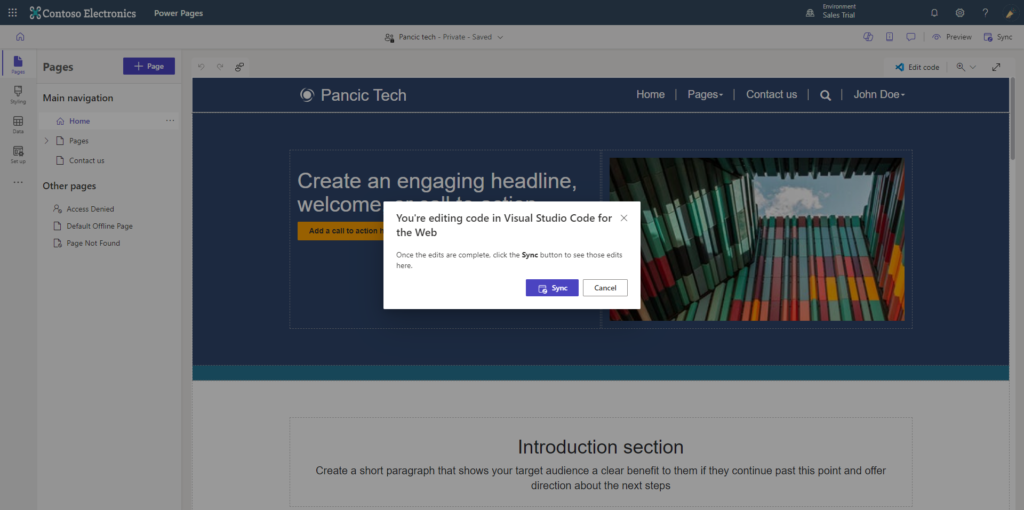
- 16. When you finish editing the code and want to publish your changes, you can go back to the website editor where you will see a pop-up and where you can click on the “Sync” button.
Preview your Power Page website:
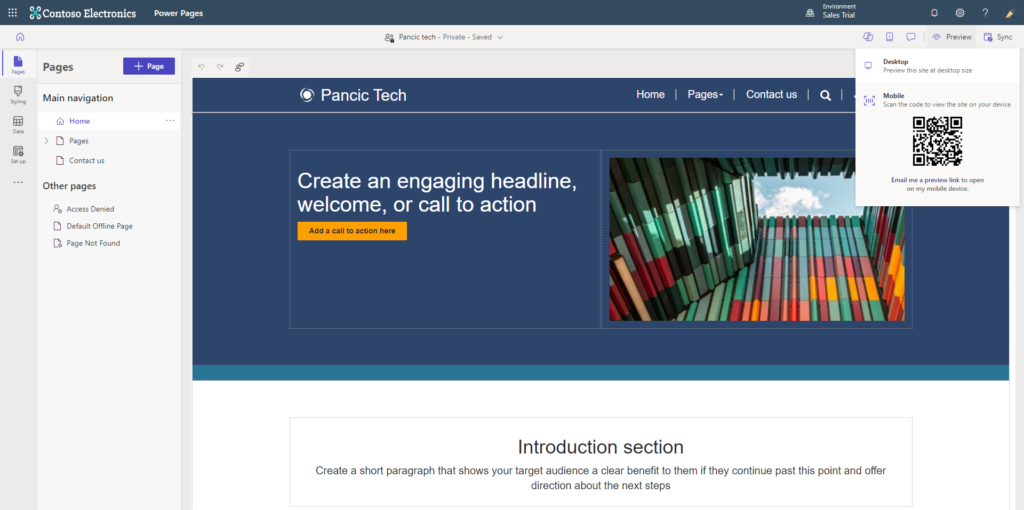
- 17. If you want to see all your changes and view them on desktop or mobile, click in the website editor on the “Preview” button where you can choose Desktop or Mobile for the preview preference of your website.

Conclusion
Microsoft Power Pages offers a powerful yet accessible platform for businesses to create and manage their websites. Its integration with the Power Platform enhances its capabilities, allowing for a dynamic, interactive, and fully customized online presence. Whether you’re aiming to showcase your products, gather customer feedback, or streamline customer interactions, Power Pages provides the tools necessary to achieve these goals efficiently.
I hope you liked this blog post. Please leave a comment or contact me if you have any feedback or questions.
Read my other posts here.
Leave a Reply